miércoles, 11 de septiembre de 2013

DIY BASIC SLIP PATTERN-EVEN BIG SIZES


DIY BASIC SLIP PATTERN- EVEN BIG SIZES


Hi, have a happy day!!!!

I try to explain in English.  
As you see it’s not my own language.
I hope to do it fine.  


We use ruler, colour markers, pencil, scissors, measure tape, paper…. 


We use:

·        stretch fabric (with spandex).

·        the paper fold in two.

·        Italian measurements, in cms.


WE DON’T USE EASE SEWING/SEAM.

NOTE: 

THE LEFT VERTICAL LINE INDICATES THE LINE WHERE WE FOLD THE FABRIC SO WE PUT THIS PATTERN LINE OVER THE FABRIC FOLD.

MEASUREMENTS NEEDED

HIP CIRCUMFERENCE:  is when we measure “round” the hip, not tight not loose, and we discount 2 cm (or what we need, see my video where I explain how to do the discount depending the fabric elongation) and divide in 4.

CROTCH LINE: is the measurement from the ¼ hip circumference divided 4.

How we do the discount? 
We stretch the fabric and we measure how much it stretches.
If stretches to 2 cm we discount 10%
If stretches to5 cm we discount 15%.
If stretches more than 5 cm we discount 25%.

Let’s start…..

SLIP FRONT PATTERN


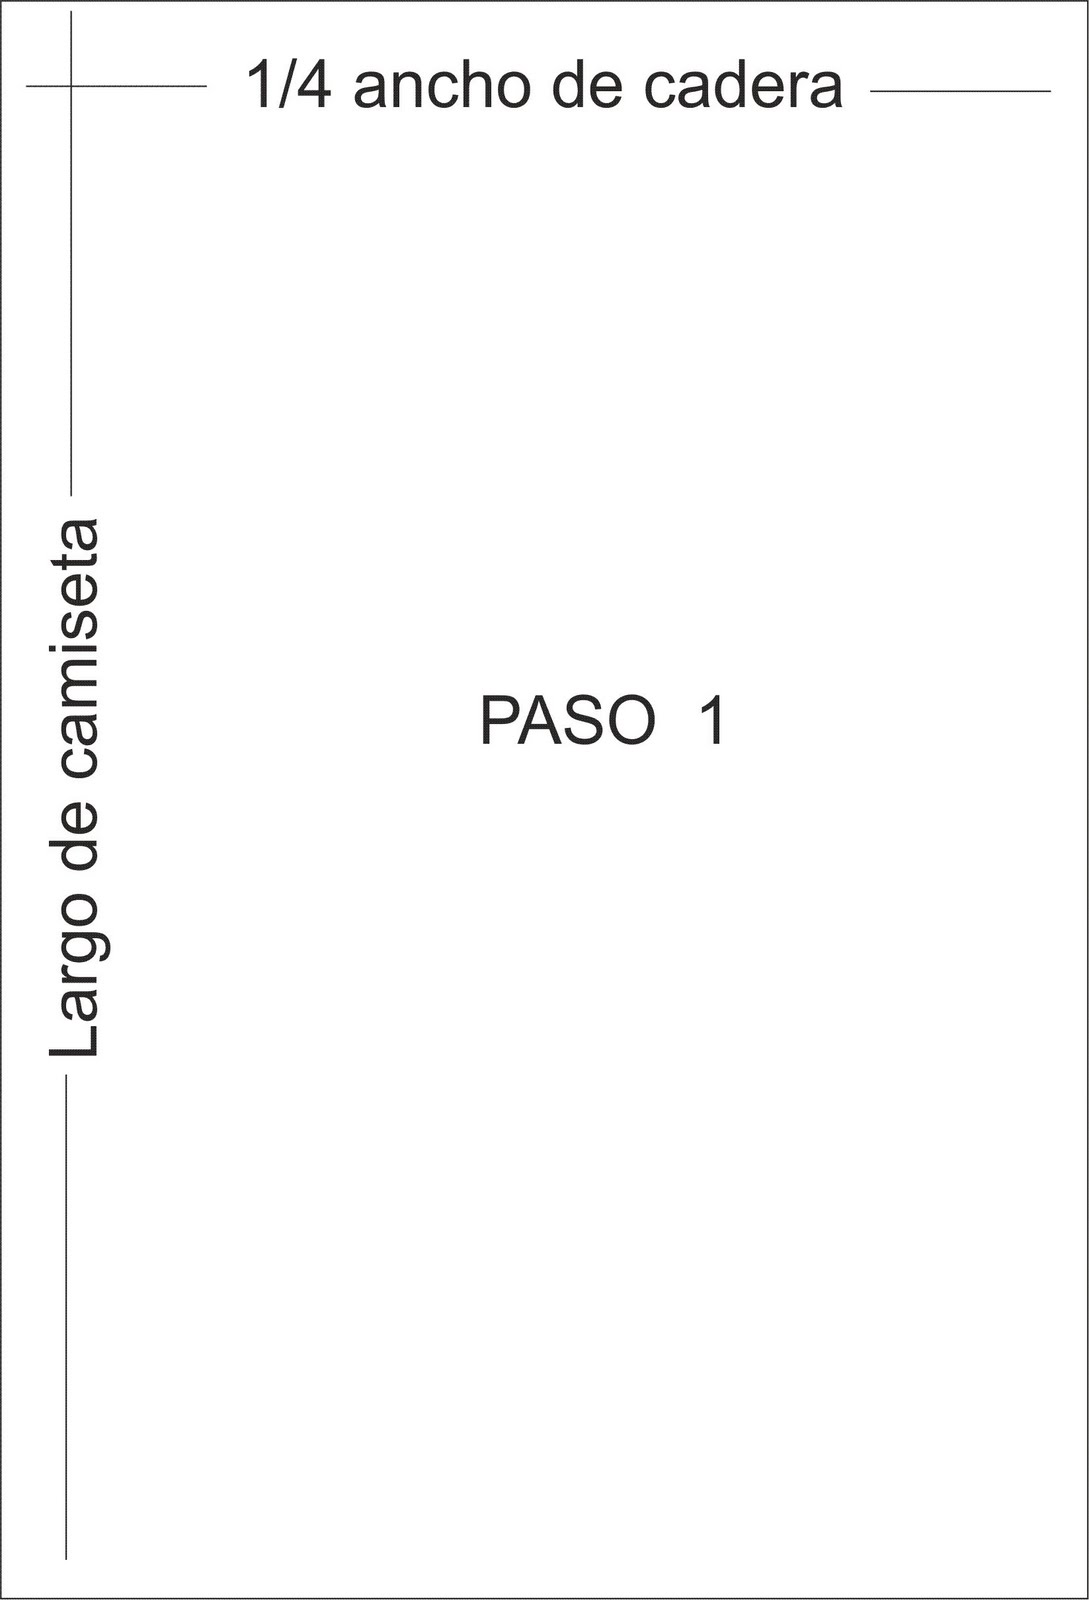
We draw a rectangle with the hip circumference measurement divided 4 – 2 cm. in the horizontals.

Ex.: hip circumference = 100cm divided 4=25 -2= 23cm. This 23cm we use in the horizontals up and down.

In the verticals lines we use crotch line (1/4 hip circumference divided 4)

Ex.: hip circumference = 100cm divided 4=25. This 25cm we use in the verticals left and right.


HIP LINE:

Now we draw the hip line (red line). We look for the middle between the horizontals lines and added 1,5cm. We mark in both lines and join them with a line (horizontal red line)…..


CROTCH AREA:
We mark in the hip line and down horizontal line, 7 to 10cm (1/4 hip circumference divided 4), we join both marks (blue horizontal line)…. 


TWEEZER:
we mark 1 cm in the down horizontal line and we draw up 4 to 6 cm in the crotch line, we join both marks and we get the tweezer (diagonal blue line)…..


THIGH/LEG AREA:
from the point that joins the blue vertical line (crotch area) with the hip line, we mark IN DIAGONAL 5 cm (green colour), we join with a soft curve line (green colour) from the horizontal down line to the hip line at right……


STRENGTHENING PIECE:

over the upper horizontal line we mark (to the right) 3cm (1/4 hip circumference divided 4 – 2), we join with the diagonal green  of 5 cm in the thigh/leg.

We trample on this violet draw in paper folded and cut it.

We cut and separate the remains front part, side-slip, and the strengthening-piece (in violet).  

We add 2 cm for hem, to the diagonal-violet-line in both parts, to sew (join) the side-slip with the strengthening-piece (in violet).


SLIP BACK PATTERN
We draw a rectangle with the hip circumference measurement divided 4 – 2 cm. in the horizontals.

Ex.: hip circumference = 100cm divided 4=25 -2= 23cm. This 23cm we use in the horizontals up and down.

In the verticals lines we use crotch line (1/4 hip circumference divided 4)

Ex.: hip circumference = 100cm divided 4=25. This 25cm we use in the verticals left and right.


HIP LINE:

Now we draw the hip line (red line). We look for the middle between the horizontals lines and added 1,5cm. We mark in both lines and join them with a line (horizontal red line)…..


THIGH/LEG AREA:

We mark 7 to 10 cm or ¼ hip circumference divided 4, in the down line from the crotch line at left…

We join up this mark to the hip-line at right, we get a diagonal blue line that is the leg line….


Well, we finish the BASIC SLIP PATTERN for men.


We may use this pattern as a swimming-suit pattern too, sewing the crotch-piece in both sides.


As always we need to practice….


jueves, 5 de septiembre de 2013

DIY BABY-DOLL TRIANGLE PATTERN-EVEN BIG SIZES

DIY BABY-DOLL TRIANGLE PATTERN-EVEN BIG SIZES


Hi, have a happy day!!!!

I try to explain in English.
As you see it’s not my own language.
I hope to do it fine.

We are going to do a basic and simple baby doll pattern, a triangle baby-doll (even big sizes).

We use ruler, colour markers, pencil, scissors, measure tape, paper….


WE USE ITALIAN MEASUREMENTS, IN CM…..

We use stretch fabric, with spandex.

WE DON’T USE EASE SEWING/SEAM.

MEASURE


RADIUS MAMA (RM): is the measure from down the bust, the "underbust" to the nipple or 10% from the bust circumference. Ex.; bust is 80cm the RM is 8cm


CUP

We draw a square with 2RM….

We cross the square with a diagonal line…

We look for the middle of this diagonal line and mark it….


We draw out 2 cm more en each corner, up and in the right and down in the left….


We join these marks with the corner…..


We mark 5 cm in each line….

We join these marks with the centre mark in the diagonal…

We get tweezers….


BABYDOLL SKIRT


We draw a rectangle with the skirt large in the verticals lines and half of the hip measure plus 3 cm in the horizontals lines…..
Ex.: hip circumference is 90 cm divided in half is 45 cm + 3 cm= 48 cm. These 48 cms go in the horizontal lines…


We mark 3 cm in the upper horizontal line, from right to left….


We mark down 6 cm in the right vertical line….


We join both
marks…


 As always we need to practice.....


sport bras

BASIC SPORT BRAS

Hi, have a happy day!!!


I try to explain in English because several people ask me to do it.
As you see it’s not my own language, so if I use some word not properly I beg your pardon.

Today we will do a sport bras, very simple, it’s a basic sport bras.

 
We use ruler, colour markers, pencil, scissors, paper….


 We use italian measurements.

We use strecht fabric.

WE DON’T USE EASE SEW.


NOTE: 

THE LEFT VERTICAL LINE (DOTS LINE) INDICATES THE LINE WHERE WE FOLD THE FABRIC SO WE PUT THIS PATTERN LINE (DOTS LINE) OVER THE FABRIC FOLD.


We use the lady’s t-shirt pattern, we draw the patterns over the  paper…..

We start tracing, trampling on the BASIC SPORT BRAS…..

We start doing the Back Pattern…..


SHOULDER:

We look for the middle of the shoulder and we mark it, we decide the wide we want, in this case are 4 cm… we decide if we want near the neck or near to the arm. 
We mark in the both sides 2 cms from de middle mark ……
We have 3 marks ….
We do these marks in the front and in the back….


NECK/COLLAR
 
We mark down in the line centre 1 or 2 cm and join to the shoulder…


 DART


We mark in, in the line centre 2 or 3 cm ....


and join up to the shoulder…


In the breast line and the dart we mark down 2 cms (we use the same measurement in the front pattern)


 we join to the shoulder......


Like this is the back pattern ….


ELASTIC BAND
We mark down from the breast line the10%  from the breast round plus the elastic band wide we are going to use….


Like this is the back open pattern…..


WE DO THE FRONT PATTERN


We use the lady’s t-shirt pattern, we draw the patterns over the  paper…..

We start drawing the BASIC SPORT BRAS…..

We draw the front pattern…..


SHOULDER:

We look for the middle of the shoulder and we mark it, we decide the wide , in this case are 4 cm…  
We mark in the both sides 2 cms from de middle mark……
We have 3 marks ….
We do these marks in the front as we did in the back….


NECK/COLLAR:


 We mark down in the line centre 4 to 6 cm and join to the shoulder…


FRONT DART:


In the breast line and the dart we mark down 2 cms (we do the same with the front pattern)


We join in soft curve the shoulder with the breast line and the dart mark   ….


ELASTIC BAND
We mark down from the breast line the10%  from the breast round plus the elastic band wide we are going to use….


We have 2 lines….


Here is the front pattern…..


 As always we need to practice....


domingo, 28 de julio de 2013

espero que sea pronto.....

Hola, ten un feliz día!!!!!

Te cuento que motivado a que me estoy mudando no sé cuando tendré internet....espero que estemos en contacto pronto....

miércoles, 24 de julio de 2013

DIY BASIC UNISEX T-SHIRT PATTERN- even big sizes.

  DIY BASIC UNISEX T-SHIRT  PATTERN- even big sizes.
  

Hi, have a happy day!!!!


I try to explain in English.
As you see it’s not my own language. I hope to do it fine.


We use ruler, colour markers, pencil, scissors, measure tape, paper….


THIS BASIC T-SHIRT PATTERN IS VERY USEFUL BECAUSE WITH IT WE`LL DO SEVERAL OTHERS PATTERNS.


We use strecht fabric (with spandex).

WE DON’T USE EASE SEWING/SEAM.

We use the paper fold in two.


NOTE: if you want your t-shirt to be ease then add 3cm to the pattern.

NOTE: 

THE LEFT VERTICAL LINE (DOTS LINE) INDICATES THE LINE WHERE WE FOLD THE FABRIC SO WE PUT THIS PATTERN LINE (DOTS LINE) OVER THE FABRIC FOLD.


MEASUREMENTS NEEDED

NECK CIRCUMFERENCE: we measure around the neck.
BUST CIRCUMFERENCE: we measure around the bust.
BACK WIDE: we measure in the back, point-shoulder in the left to point-shoulder in the right side.
WAIST LINE: we measure from the neck to the waist and draw a horizontal line.
WAIST CIRCUMFERENCE: we measure around the waist
HIP CIRCUMFERENCE: we measure around the hip.
HIP LINE: we measure from the neck to the hip and draw a horizontal line.
SHOULDER: we measure from the neck to the point-shoulder (where it joins with the arm).

LENGTH SLEEVE: we measure from the point-shoulder to the elbow or wrist, as we like.
WIDE SLEEVE: we measure the upper-arm circumference and the elbow or wrist circumference, where ends the sleeve.

WE USE ITALIAN MEASUREMNT in cms.


BASIC T-SHIRT PATTERN


FRONT PART
 
We draw a rectangle with ¼ hip circumference in horizontal lines and the t-shirt length we like…


 NECK

In the upper horizontal line we mark 1/6 neck circumference plus 1,5cm (blue mark)….
In the left vertical line we mark 1/6 neck circumference plus 3cm (blue mark)….

We join with a soft curve…..


SHOULDER

In the upper horizontal line we mark the shoulder length (red line)….


We mark down 1/6 divide in half, and join with the neck mark with a diagonal line (brown line)….we get the shoulder….


DART


We draw a vertical line (green line) that has ¼ bust circumference for woman; or half back wide for man…
Here we draw the bust line….(horizontal green line)


In this vertical green line we look for half and enter 2 cms ….
In bust/chest line and the vertical line we draw up 3 cms…..
We join in soft curve all the marks……we get the dart….


SIDE SEAM


We join the bust/chest line with the hem line (red vertical line)….


To make the t-shirt tight:

We measure from neck to waist and draw the waist line(green color), in this line we mark ¼ waist circumference ….

We measure from neck to hip and draw the hip line(blue grey color), in this line we mark ¼ hip circumference….

The hem line is the hip line(blue grey color), we mark the hip circumference plus 3 cms for the hem…..

Then, we join bust/chest line (red color) mark, waist line mark (green color), hip line mark and hem line mark (blue grey color)... we get the side seam….


BACK PATTERN

We draw the same all steps, except in the NECK we mark 1/6 neck circumference + 2cm in the vertical line.
In the DART we don’t enter the 2 cms.


SLEEVES PATTERNS


We fold vertically the paper in 2 (half) so we do the sleeve complete at once.

In the vertical we put the sleeve length….

In the upper horizontal line we mark ¼ bust circumference (woman) or ½ back wide measurement (man)…..


SLEEVE CAP  DEPTH


We measure 1/10 bust circumference and draw a line (horizontal blue line)


 DIAGONAL GREEN LINE: we measure the front dart PLUS the back dart with the tape “stand up” we DIVIDE in half…..
We use this measurement to join the left angle with the horizontal blue line with the ruler ….. we get the diagonal green line.


SLEEVE CAP


We divide this diagonal line in half….
Each half we divide in half too…..
We get 3 marks (brown)….


 In the 1st. (left) mark we draw up 1 cm…..

In the 3rd (right) mark we draw down 1 cm…..


BACK CAP SLEEVE 


 We join with a soft curve the 1st mark the middle and the 3rd mark (see the draw)…..(yellow curve)


 FRONT CAP SLEEVE


We join with a soft curve the 1st mark the middle and the 3rd mark (see the draw)…..(red curve)

 In the hem line, down horizontal line, we mark the half elbow circumference, if it’s short sleeve. (sorry, I didn’t draw it)

We join the horizontal blue line with the sleeve hem mark in the down horizontal line with a vertical line (sorry, I didn’t draw it)

We get the sleeve side seam…..


HOW TO CUT THE SLEEVE PATTERN

We cut off (in the fold paper) the back cap sleeve (yellow curve)….
We unfold the paper and cut the front cap sleeve (red curve)….
We follow cutting the sleeve side seam….

We get the sleeve pattern…..

 NOW, AS ALWAYS...WE NEED TO PRACTICE....